“This post contains affiliate links, and I will be compensated if you make a purchase after clicking on my links.”
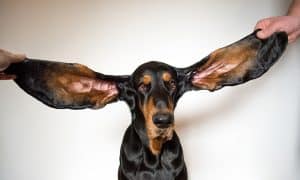
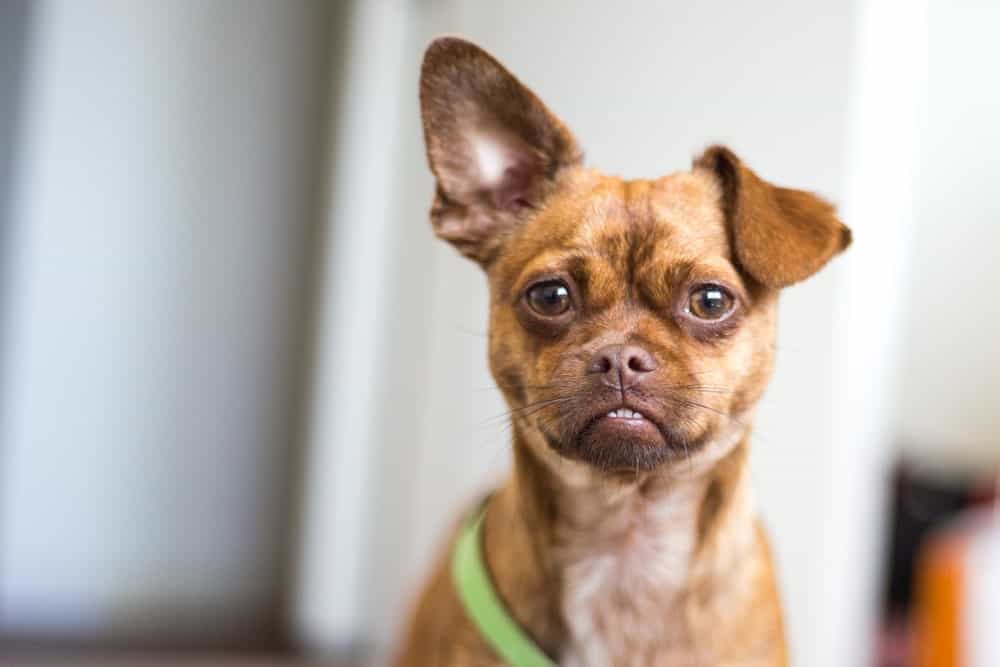
Sometimes they’re floppy, sometimes they stand straight up. Sometimes they’re long, sometimes they’re short. No matter what type of ears frame your four-legged friends’ adorably fuzzy face, keeping them clean is essential to good health.
Left unchecked, dirty ears can lead to excess wax buildup, painful irritation, dangerous infection, and eventual hearing loss. That’s why cleaning your dog’s ears is should be a regular part of your grooming and maintenance routine. Here’s how to do it:
Step One: Check & Handle Your Dog’s Ears
While most dogs aren’t thrilled with having their ears cleaned, you can make the entire process easier on you both by frequently handling your dog’s ears, not just when you’re preparing to clean them. When you’re petting your dog – and we know you pet him often – just take a second to touch his ears, lift an ear flap, look inside, give an “ear noogie” by rubbing the base of the ear with a circular motion, and then give your dog praise or treats. Perform this “ear check” often, not only to get your dog accustomed to having his ears handled, but also to check for any potential issues.
The inside of your dog’s ears should be free of dirt, debris, and waxy buildup. The skin should be healthy and free off any redness or inflammation. Any excess hair or mats should be carefully removed.
During these random and frequent ear checks, if you notice any redness, discharge, swelling, foul odor, hair loss, flakey or scabby skin, or if your dog is pawing at his ears, shaking his head frequently, or showing signs of ear pain, do not attempt to clean his ears on your own. Instead, schedule an immediate trip to your veterinarian.
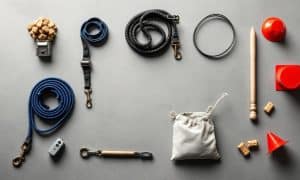
Step Two: Gather Your Supplies
Now that your dog is accustomed to having her ears handled and you’ve checked for signs of infection, it’s time to get to cleaning! Because it’s not exactly a pleasurable experience for your dog, you’ll want to gather your supplies and have them all easily within reach before getting started. (Take it from me – it’s not easy to lure a dog out from under the bed when you had to leave the room to grab more cotton balls halfway through the cleaning!)
You’ll need the following supplies:
- Ear cleaning solution: Always use an ear cleaning solution designed specifically for dogs.
- Cotton balls or pads
- Cotton-tipped swabs (Q-Tips): ONLY use cotton swabs to clean folds of the outer ear, NEVER inserting them into the ear canal. Cotton swabs are not recommended for super squirmy dogs.
- Washcloth or towel
- Yummy, high-value treats
- A second person may be helpful if your dog is especially squirmy.
Once you’ve gathered your supplies, find a calm, quiet place to sit with your dog. Because your dog may shake his head and make a little mess, many people prefer to clean their dog’s ears in a bathroom or kitchen and away from furniture and bedding.
Step Three: Cleaning the Ears
First, squeeze a few drops of ear cleaning solution into one ear. Gently massage the base of the ear for about 20-seconds. You may be able to hear the solution swishing around in your dog’s ear canal as you massage – that’s a good sign that the solution has reached the inner parts of the ear. The moment you stop massaging and let go, your dog will shake her head – this is when ear cleaning can get a little messy.
After your dog shakes her head, squeeze enough cleaning solution onto a cotton ball or pad to saturate it. Use the solution-soaked cotton ball to wipe away any dirt or debris on the visible part of the dog’s ear. Don’t ever stuff cotton balls or fingers into the ear canal as this could damage delicate ear structures. (Some pet parents find that pre-moistened ear cleaning wipes work great for this in place of cotton balls or pads!). If your dog sits calmly for an ear cleaning, you may use cotton swabs soaked in solution to clean within the folds of the outer ear flap. Repeat the process on the opposite ear.
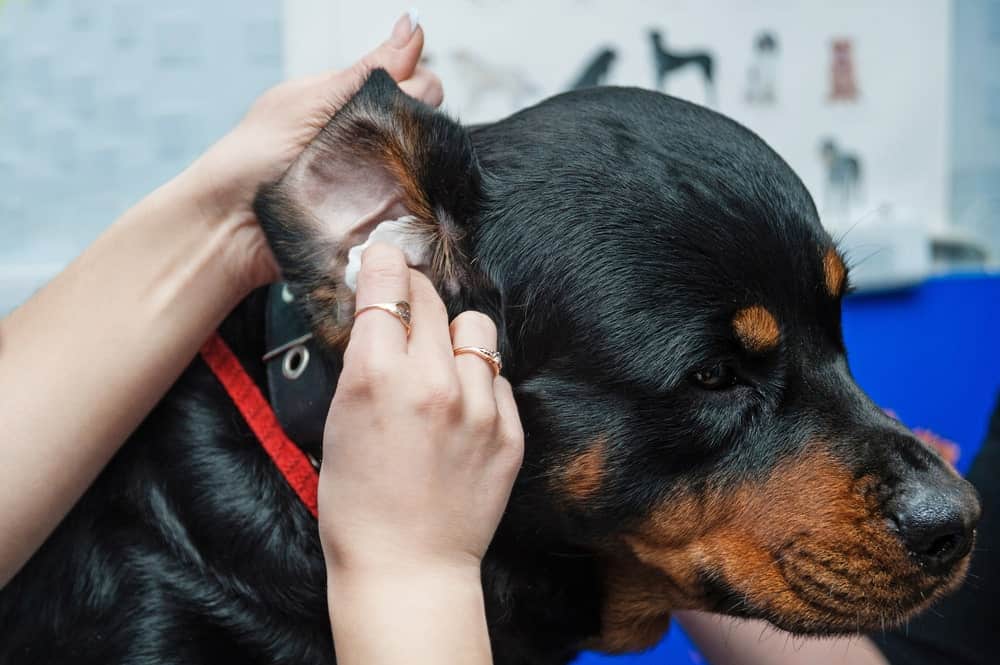
Once both ears have been cleaned, use a washcloth or towel to dry any remaining moisture or cleaning solution from your dog’s ears and face – and possibly from yourself.
Most dogs will benefit from having their ears cleaned at least once a month. However, some dogs with long, droopy, hairy, or floppy ears may need cleaned more often. Dogs that swim frequently should have ears cleaned more often. Talk to your veterinarian about an ear cleaning schedule that’s appropriate for your dog.
Step Four: Praise and Reward
Now that your dog has successfully had her ears cleaned, be sure to reward with tons of praise, loving attention, and tasty, high-value treats! Though she may put up a fight at first, she’ll eventually learn that sitting nicely for an ear cleaning means big rewards, making the process easier on you both.